
How to Seamlessly Integrate MDX in a Remix-based Project? (Part One)
Enhancing User Experience with GSAP: Creating a Side Sticky Table of Contents.

I was tasked to revamp our agency’s website using Remix. When developed at the stage that you need to integrate some content into the website, after digging a little bit, I found out that Remix has built-in support for the MDX, which is totally mind-blowing for me and a game changer for our project. As mentioned on the MDX website,
MDX lets you use JSX in your markdown content. You can import components, such as interactive charts or alerts, and embed them within your content. This makes writing long-form content with components a blast.

In this part of the screen recording, I’ll be replicating the layout. The left side features the main content, which in our project is powered by MDX. This is the section I’ll guide you through in today’s article. As for the right-side sticky content table, I plan to implement it using GSAP (an animation library) and will cover it in detail in my next post.
Even though Remix has built-in support for MDX files, you still need to install several plugins to parse the data.
First thing first, you need to install the MDX Rollup plugin,
npm install -D @mdx-js/rollupAnd then add MDX frontmatter support,
npm install -D remark-frontmatter remark-mdx-frontmatterConfigure the plugins in vite.config.ts
import mdx from "@mdx-js/rollup";
import { vitePlugin as remix } from "@remix-run/dev";
import remarkFrontmatter from "remark-frontmatter";
import remarkMdxFrontmatter from "remark-mdx-frontmatter";
import { defineConfig } from "vite";

export default defineConfig({
  plugins: [
    mdx({
      remarkPlugins: [
        remarkFrontmatter,
        remarkMdxFrontmatter,
      ],
    }),
    remix(),
  ],
});
Since I am going to use prose in the tailwind typography plugin to accelerate the development, I also need to configure it in the tailwind.config.ts
import type { Config } from "tailwindcss";
import typographyPlugin from "@tailwindcss/typography";

export default {
  content: ["./app/**/{**,.client,.server}/**/*.{js,jsx,ts,tsx}"],
  theme: {
    extend: {
      fontFamily: {
        sans: [
          "Inter",
          "ui-sans-serif",
          "system-ui",
          "sans-serif",
          "Apple Color Emoji",
          "Segoe UI Emoji",
          "Segoe UI Symbol",
          "Noto Color Emoji",
        ],
      },
    },
  },
  plugins: [
    typographyPlugin,
    function ({ addVariant }: any) {
      addVariant(
        "prose-inline-code",
        '&.prose :where(:not(pre)>code):not(:where([class~="not-prose"] *))'
      );
    },
  ],
} satisfies Config;
In this code snippet, I add a function when using the typographyPlugin. While prose is great and provides comprehensive CSS styling, the <code> element—written in MDX using single backticks—doesn't fully inherit prose styling. To address this, I need to override its specific styles to ensure prose doesn't interfere with the code block formatting.
Under the routes folder, I create blog.tsx file, this is the entry point of our blog posts. In Remix, we need Outlet component to render the matching child routes of a parent route.
//routes/blog.tsx

import { Outlet } from "@remix-run/react";

export default function BlogPage() {
  return (
    <div className="prose px-4 py-6 max-w-full">
      <Outlet />
    </div>
  );
}
As you can see, without adding our own code block styling, its own prose based styling is missing. Let’s add our CSS styling.
//routes/blog.tsx

import { Outlet } from "@remix-run/react";

export default function BlogPage() {
  return (
    <div className="prose px-4 py-6 max-w-full prose-inline-code:p-[.2em_.4em] prose-inline-code:before:content-none prose-inline-code:after:content-none prose-inline-code:margin-0 prose-inline-code:text-[85%] prose-inline-code:whitespace-break-spaces prose-inline-code:rounded-md prose-inline-code:bg-[rgba(175,184,193,0.2)] prose-inline-code:text-inherit prose-inline-code:font-medium">
      <Outlet />
    </div>
  );
}
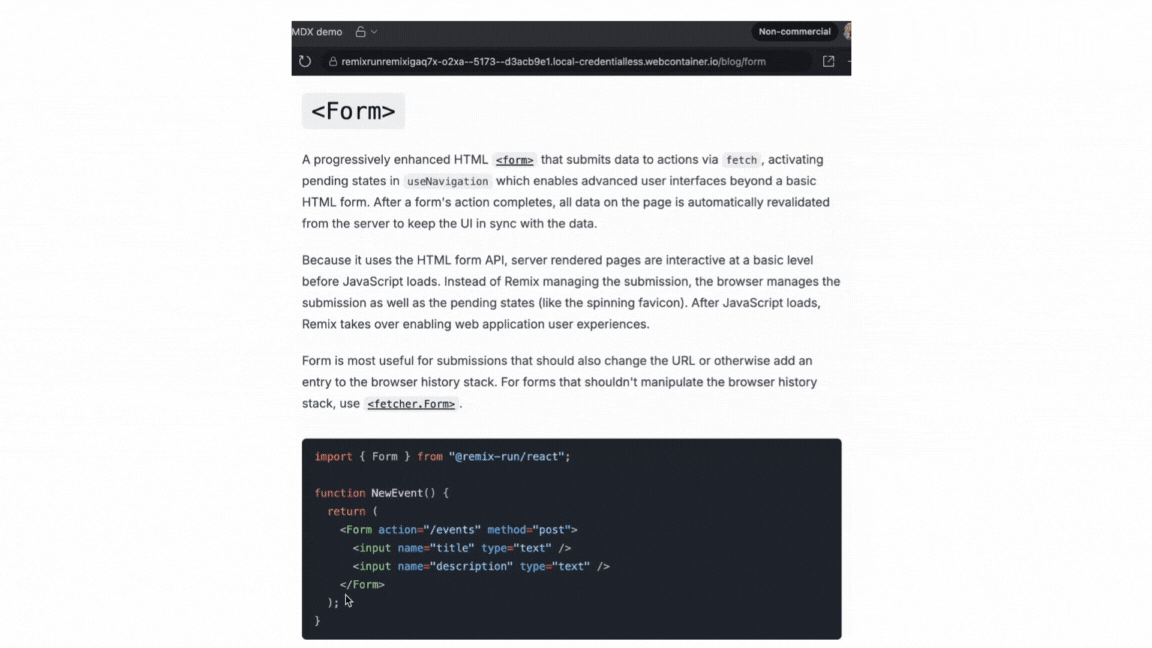
Let’s create /routes/blog.form.mdx file, I find this markdown from the Remix repo, I paste it into this file,
---
title: Form
---
# `<Form>`
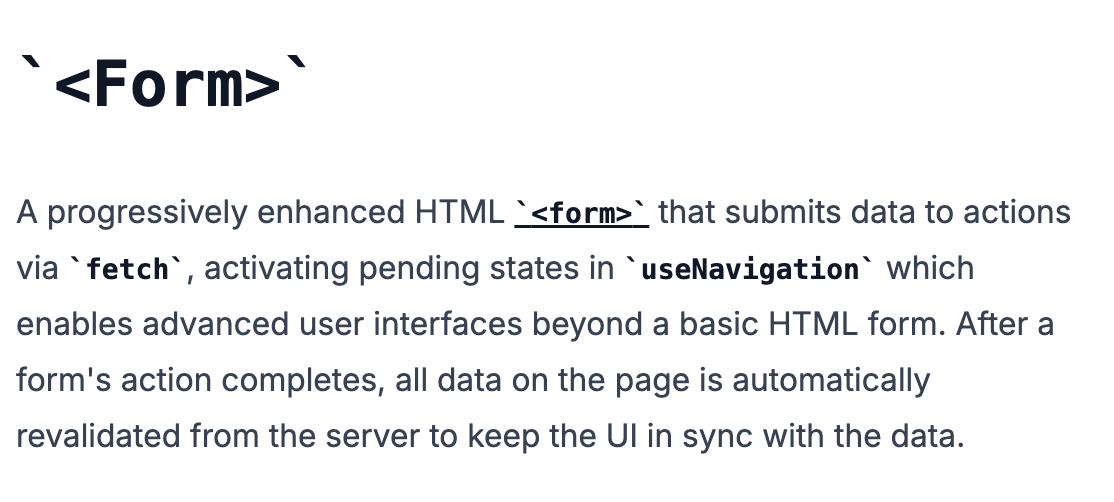
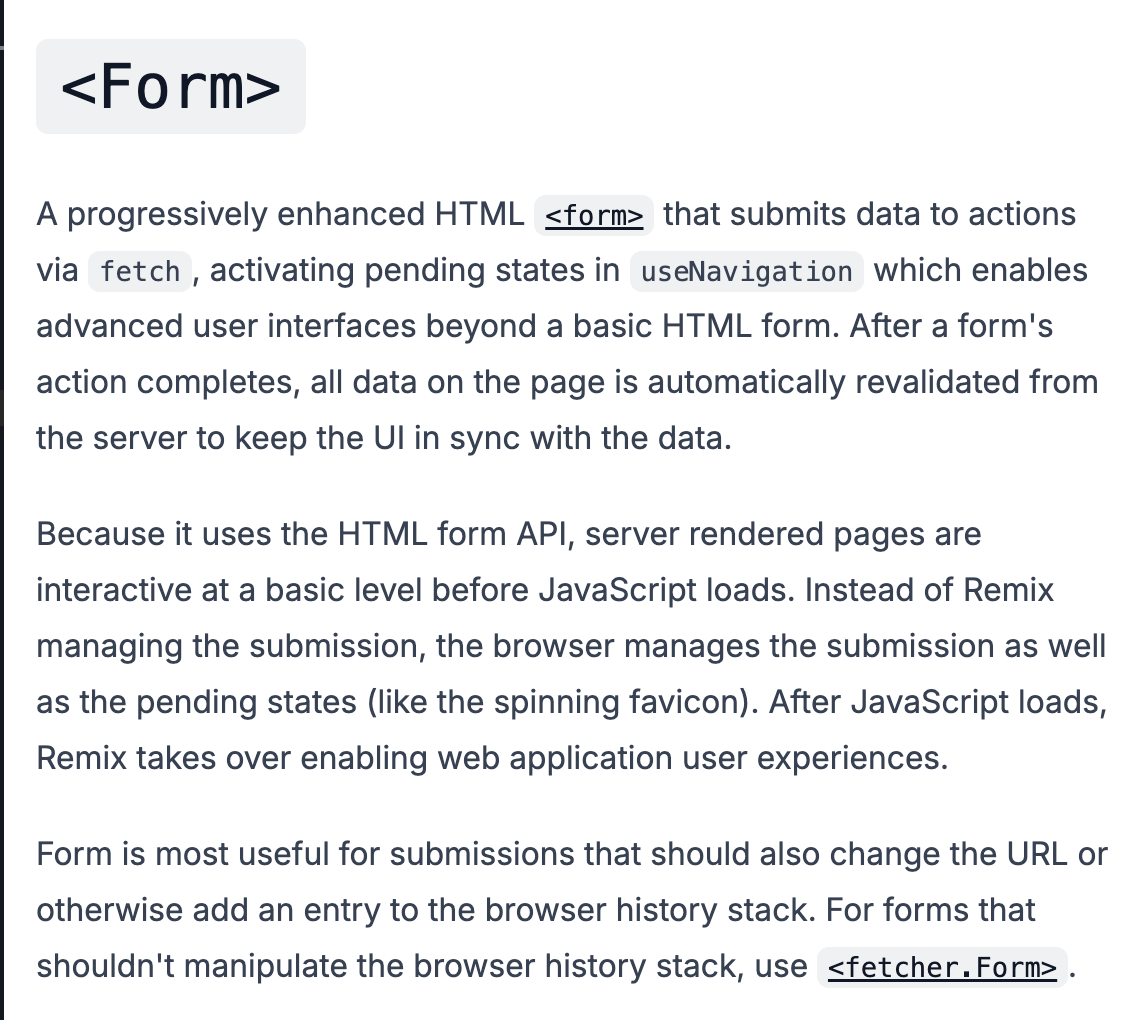
A progressively enhanced HTML [`<form>`][form_element] that submits data to actions via `fetch`, activating pending states in `useNavigation` which enables advanced user interfaces beyond a basic HTML form. After a form's action completes, all data on the page is automatically revalidated from the server to keep the UI in sync with the data.
Because it uses the HTML form API, server rendered pages are interactive at a basic level before JavaScript loads. Instead of Remix managing the submission, the browser manages the submission as well as the pending states (like the spinning favicon). After JavaScript loads, Remix takes over enabling web application user experiences.
Form is most useful for submissions that should also change the URL or otherwise add an entry to the browser history stack. For forms that shouldn't manipulate the browser history stack, use [`<fetcher.Form>`][fetcher_form].
```tsx
import { Form } from "@remix-run/react";
function NewEvent() {
return (
<Form action="/events" method="post">
<input name="title" type="text" />
<input name="description" type="text" />
</Form>
);
}
```
## Props
### `action`
The URL to submit the form data to.
If `undefined`, this defaults to the closest route in context. If a parent route renders a `<Form>` but the URL matches deeper child routes, the form will post to the parent route. Likewise, a form inside the child route will post to the child route. This differs from a native [`<form>`][form_element] that will always point to the full URL.
<docs-info>Please see the [Splat Paths][relativesplatpath] section on the `useResolvedPath` docs for a note on the behavior of the `future.v3_relativeSplatPath` future flag for relative `<Form action>` behavior within splat routes</docs-info>
### `method`
This determines the [HTTP verb][http_verb] to be used: `DELETE`, `GET`, `PATCH`, `POST`, and `PUT`. The default is `GET`.
```tsx
<Form method="post" />
```
Native [`<form>`][form_element] only supports `GET` and `POST`, so you should avoid the other verbs if you'd like to support [progressive enhancement][progressive_enhancement]
### `encType`
The encoding type to use for the form submission.
```tsx
<Form encType="multipart/form-data" />
```
Defaults to `application/x-www-form-urlencoded`, use `multipart/form-data` for file uploads.
### `navigate`
You can tell the form to skip the navigation and use a [fetcher][use_fetcher] internally by specifying `<Form navigate={false}>`. This is essentially a shorthand for `useFetcher()` + `<fetcher.Form>` where you don't care about the resulting data and only want to kick off a submission and access the pending state via [`useFetchers()`][use_fetchers].
```tsx
<Form method="post" navigate={false} />
```
### `fetcherKey`
When using a non-navigating `Form`, you may also optionally specify your own fetcher `key` to use.
```tsx
<Form method="post" navigate={false} fetcherKey="my-key" />
```
### `preventScrollReset`
If you are using [`<ScrollRestoration>`][scroll_restoration_component], this lets you prevent the scroll position from being reset to the top of the window when the form is submitted.
```tsx
<Form preventScrollReset />
```
### `replace`
Replaces the current entry in the history stack, instead of pushing the new entry.
```tsx
<Form replace />
```
### `reloadDocument`
If true, it will submit the form with the browser instead of client side routing. The same as a native `<form>`.
```tsx
<Form reloadDocument />
```
This is recommended over [`<form>`][form_element]. When the `action` prop is omitted, `<Form>` and `<form>` will sometimes call different actions depending on what the current URL is since `<form>` uses the current URL as the default, but `<Form>` uses the URL for the route the form is rendered in.
### `viewTransition`
The `viewTransition` prop enables a [View Transition][view-transitions] for this navigation by wrapping the final state update in [`document.startViewTransition()`][document-start-view-transition]. If you need to apply specific styles for this view transition, you will also need to leverage the [`useViewTransitionState()`][use-view-transition-state].
## Notes
### `?index`
Because index routes and their parent route share the same URL, the `?index` param is used to differentiate between them.
```tsx
<Form action="/accounts?index" method="post" />
```
| action url | route action |
| ----------------- | -------------------------------- |
| `/accounts?index` | `app/routes/accounts._index.tsx` |
| `/accounts` | `app/routes/accounts.tsx` |
See also:
- [`?index` query param][index_query_param]
## Additional Resources
**Videos:**
- [Data Mutations with Form + action][data_mutations_with_form_action]
- [Multiple Forms and Single Button Mutations][multiple_forms_and_single_button_mutations]
- [Clearing Inputs After Form Submissions][clearing_inputs_after_form_submissions]
**Related Discussions:**
- [Fullstack Data Flow][fullstack_data_flow]
- [Pending UI][pending_ui]
- [Form vs. Fetcher][form_vs_fetcher]
**Related APIs:**
- [`useActionData`][use_action_data]
- [`useNavigation`][use_navigation]
- [`useSubmit`][use_submit]From the above code snippet, you can see how writing JSX in an MDX file truly shines in this context. It offers incredible flexibility and simplifies the process of handling complex data structures.
As shown in the GIF, the design starts to take shape. In my next post, I’ll walk you through extracting the header element and mapping it into the content table. I’ll also demonstrate how to implement a sticky side content table on the right, utilizing GSAP for smooth interactions. Stay tuned for more fun!